Kotlin
Space for Kotlin Programming Language
-
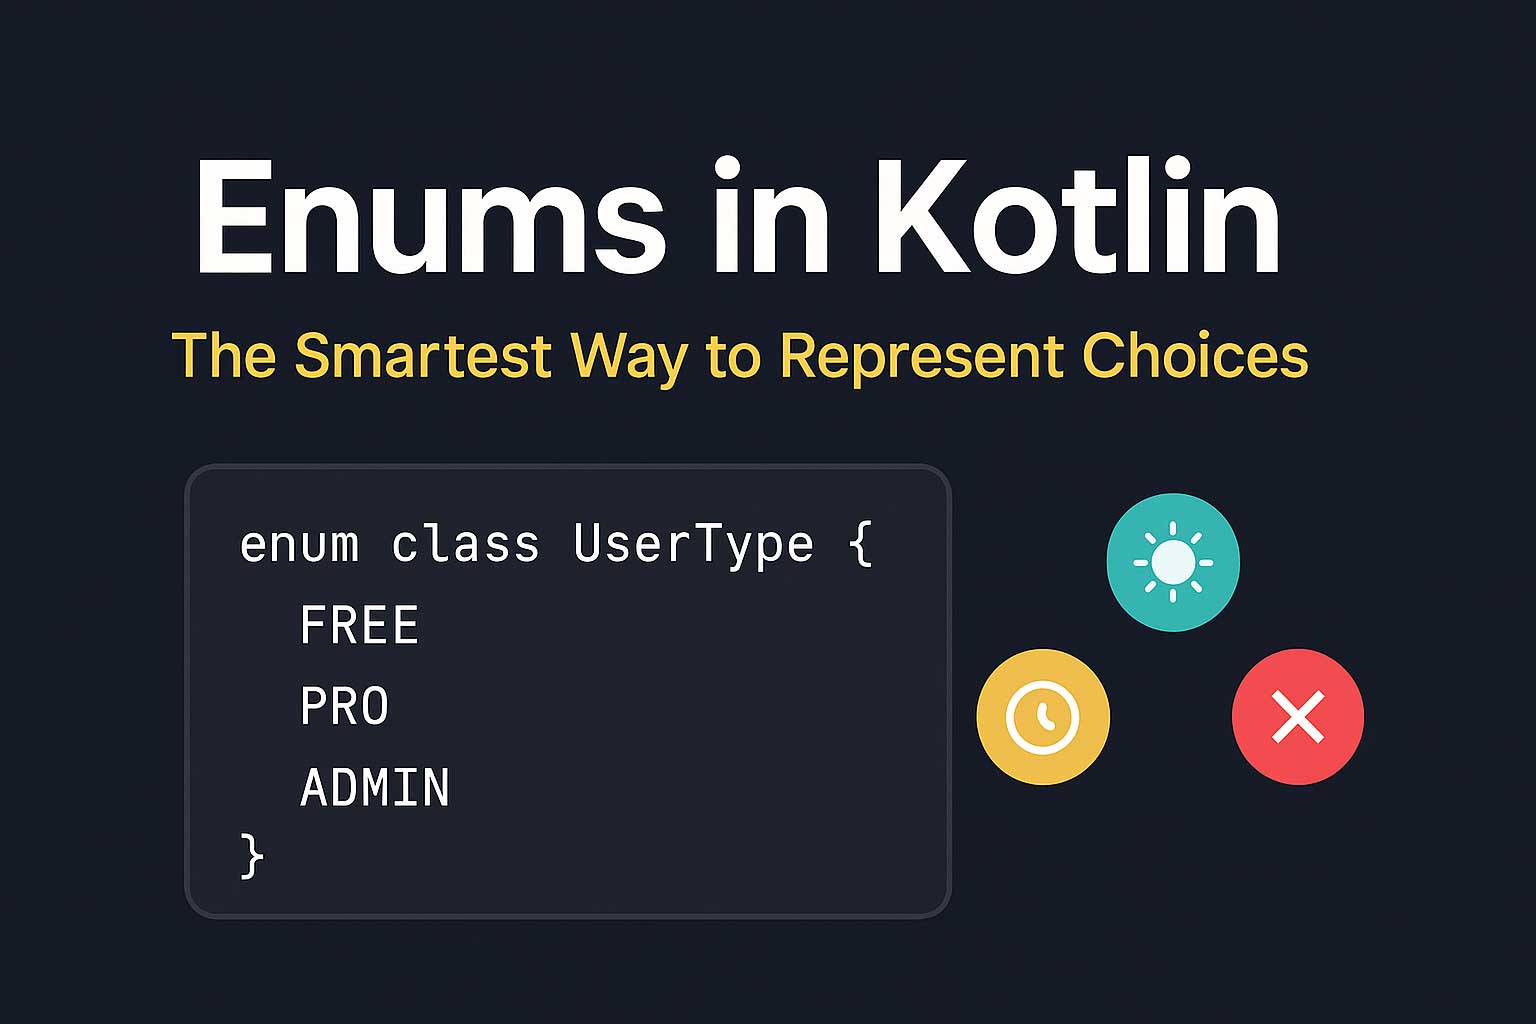
🧭 Enums in Kotlin — The Smartest Way to Represent Choices
Enums in Kotlin help you replace messy strings and magic numbers with clean, type-safe choices. In this fun, beginner-friendly guide, you’ll learn how enums work, how to add properties and functions, and how to use enums inside Jetpack Compose for real Android UI scenarios.
-
⭐ Singleton Objects in Kotlin — The One and Only Hero of Your App!
Singletons in Kotlin are your app’s one-and-only heroes—always present, never duplicated! This fun and easy guide explains what they are, why we use them, and how they make real-world apps simpler and smarter.
-
📦 Kotlin Data Classes — The Smartest, Cleanest Way to Handle Data (With Jetpack Compose Examples!)
Discover Kotlin data classes in a fun, simple way! Learn how they reduce boilerplate, improve comparisons, support immutability, and shine in Jetpack Compose for UiState management.
-

⭐ Extension Functions in Kotlin — Give Your Code Superpowers!
Extension functions in Kotlin are like giving everyday objects secret superpowers! With just a few lines of code, you can add new features to existing classes—without touching their original source. In this fun and easy guide, we explore simple examples, real-world scenarios, and how extension functions make Android and Jetpack Compose development cleaner and more…
-
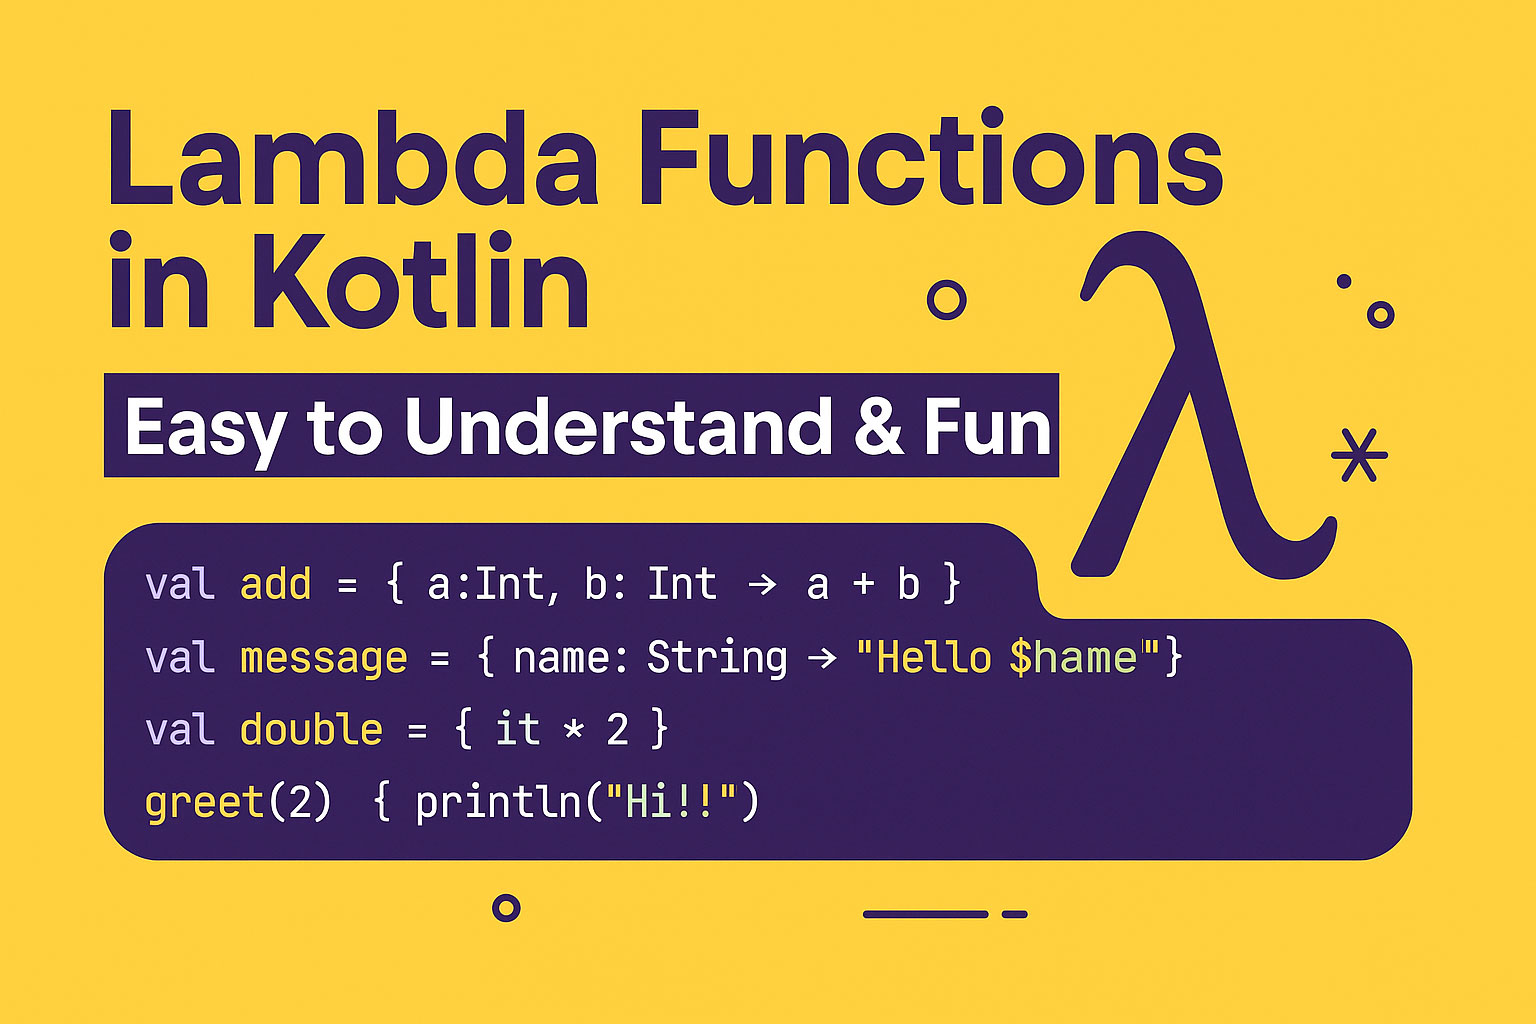
🚀 Lambda Functions in Kotlin: The Fun, Simple Guide You Wish You Had Earlier
Kotlin lambdas can feel confusing at first, but once you understand how they work, they make your code cleaner and your Jetpack Compose UI beautifully readable. This fun, beginner-friendly guide breaks down lambda basics, return types, it, and trailing lambdas — with simple examples and real Android/Compose use cases.
-
Abstract Classes vs Interfaces in Kotlin: Understanding the Key Differences and When to Use Them
Abstract Classes vs Interfaces in Simple Terms In Kotlin, abstract classes and interfaces are tools used to define shared behaviors for multiple classes. While they have similarities, they serve slightly different purposes and are used in different scenarios. 1. What is an Abstract Class? Key Points: Example: abstract class Animal(val name: String) { abstract fun
-

Classes are “final” by default in Kotlin
Did you know Kotlin prevents inheritance by default? Classes, functions, and properties are all final unless you mark them open, abstract, or sealed. This blog explains what “final by default” really means, why Kotlin chose this design, and how it affects your Android and Jetpack Compose development—complete with practical examples.
-
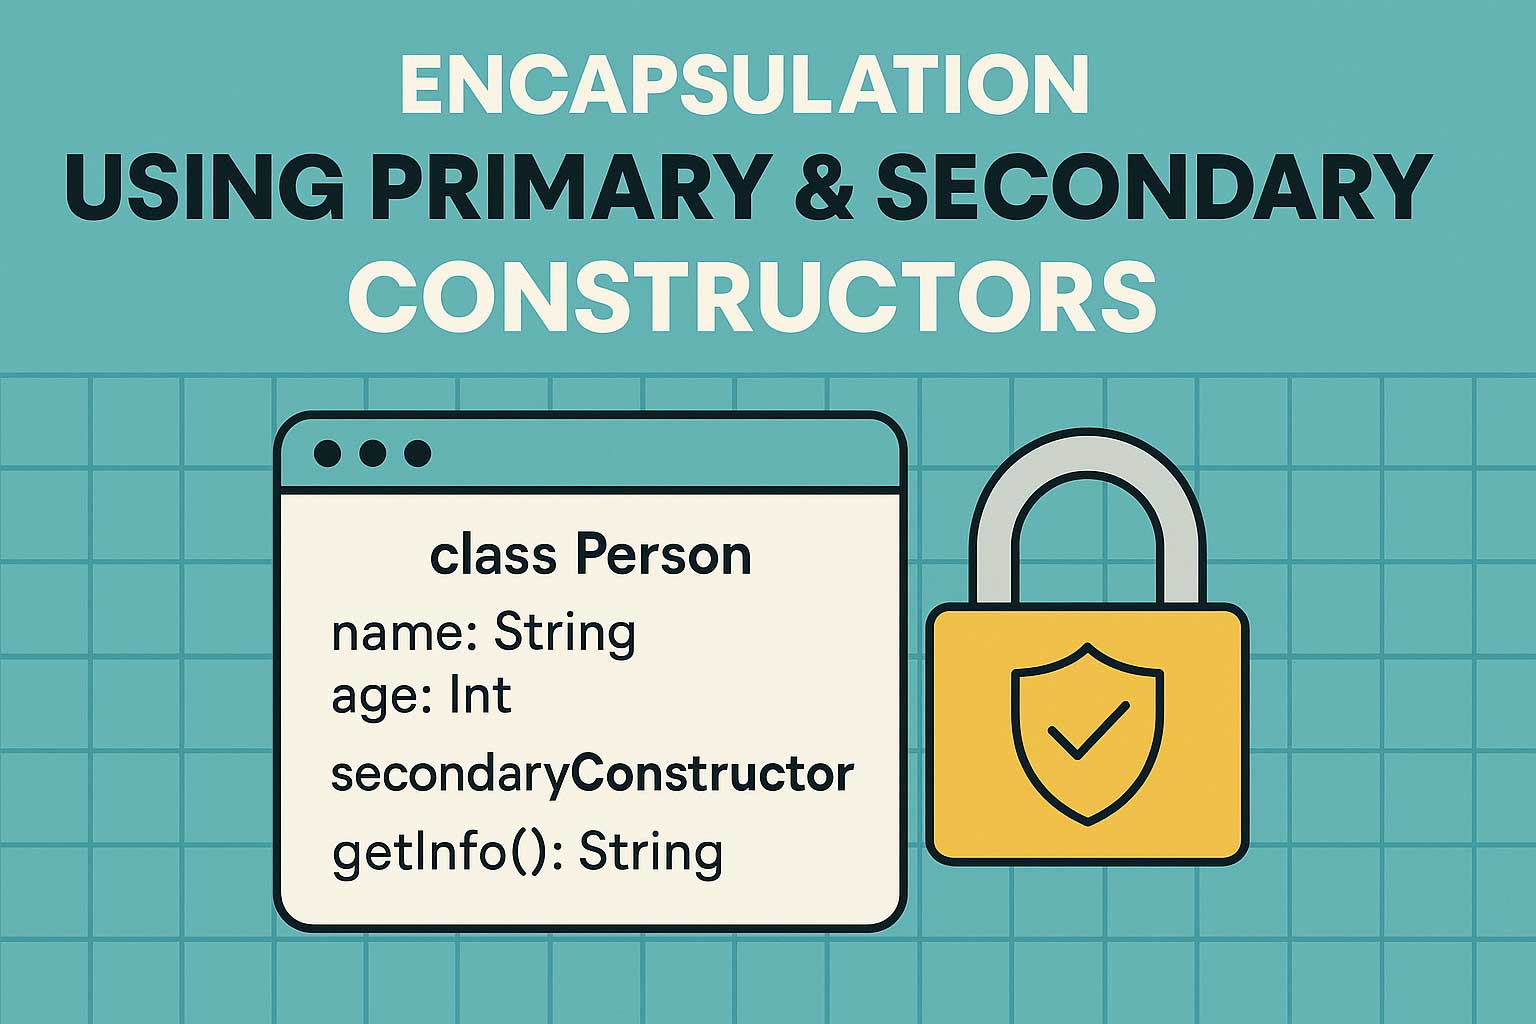
🛡️ Encapsulation Using Primary & Secondary Constructors in Kotlin
Encapsulation in Kotlin isn’t just about hiding data — it’s about creating safer, cleaner, and smarter classes. In this article, we explore how primary and secondary constructors work together to control object creation, protect class properties, and keep your code elegant and bug-free. Perfect for beginners and Kotlin learners!
-
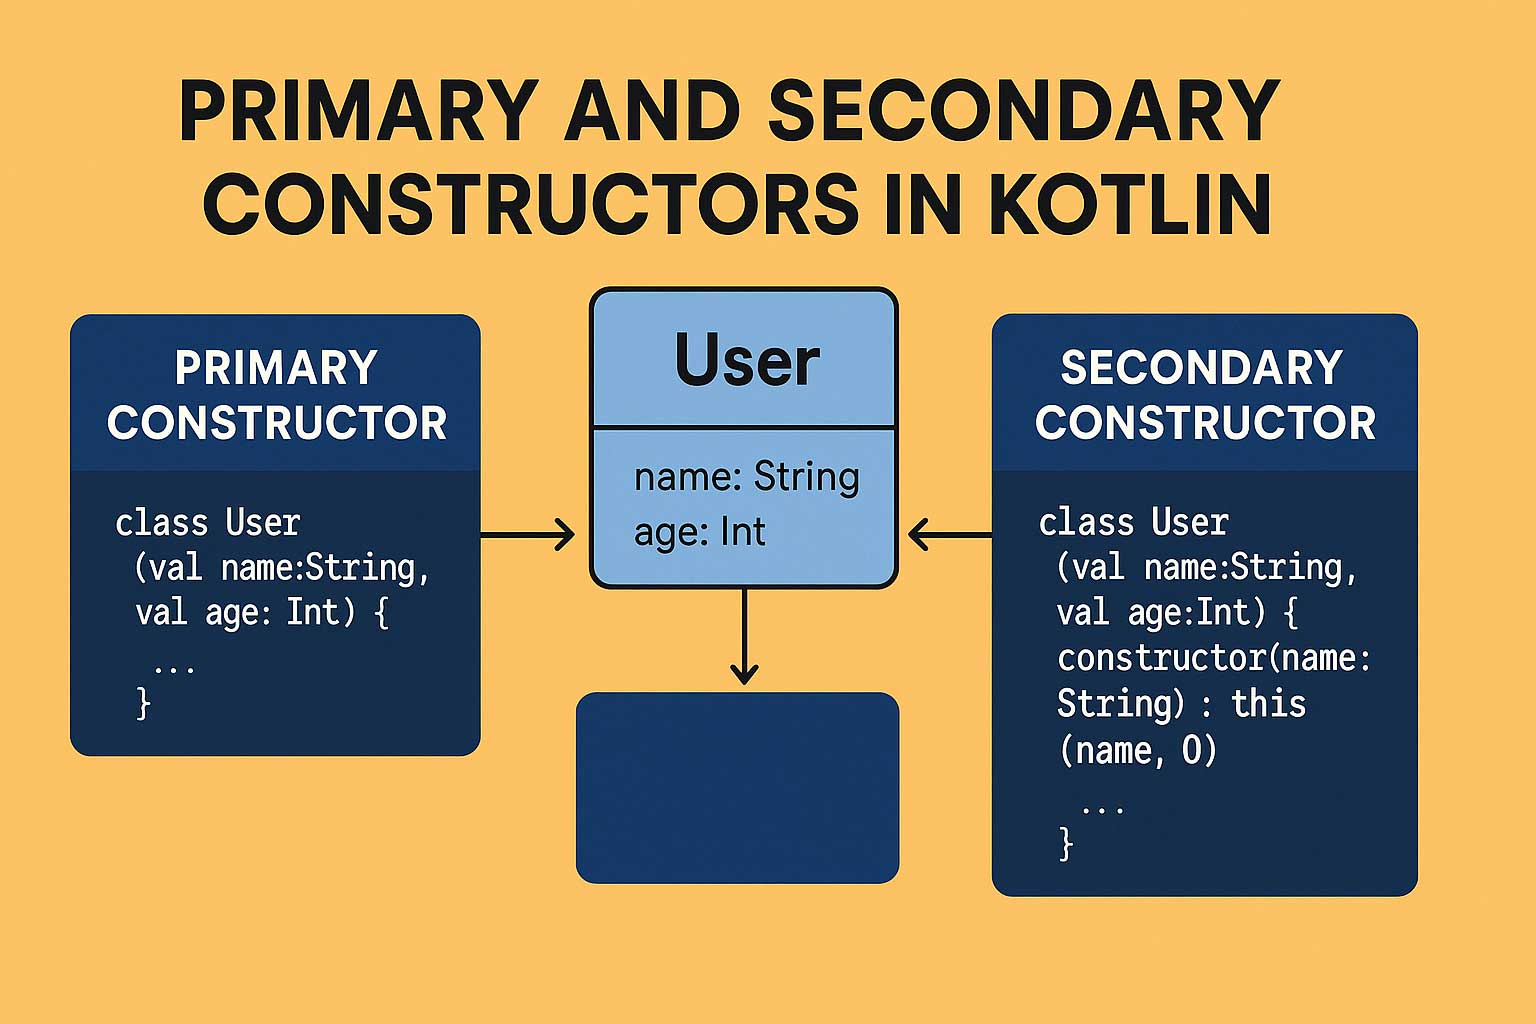
🚀 Primary vs Secondary Constructors in Kotlin — Explained the Fun Way!
Kotlin gives you two powerful ways to create objects: primary constructors for clean, simple initialization and secondary constructors for more flexible setups. In this friendly, easy-to-understand guide, you’ll learn how both work, when to use them, and how they relate to real-world Android and Jetpack Compose development.