Amit Sharma
-
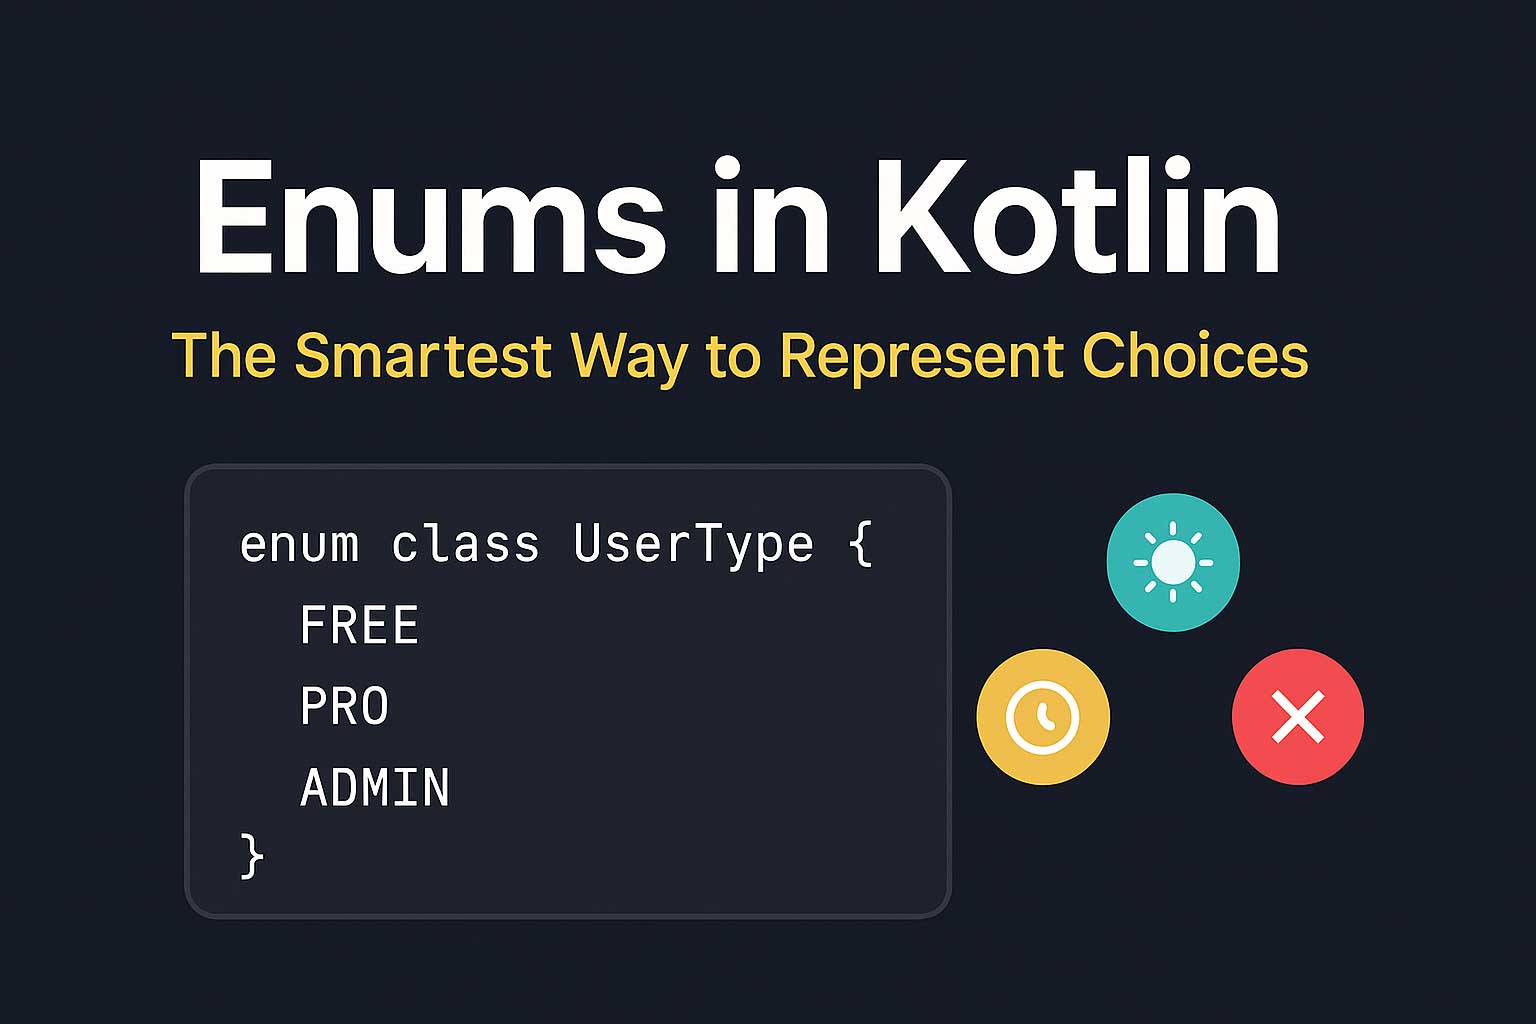
🧭 Enums in Kotlin — The Smartest Way to Represent Choices
Enums in Kotlin help you replace messy strings and magic numbers with clean, type-safe choices. In this fun, beginner-friendly guide, you’ll learn how enums work, how to add properties and functions, and how to use enums inside Jetpack Compose for real Android UI scenarios.
-
⭐ Singleton Objects in Kotlin — The One and Only Hero of Your App!
Singletons in Kotlin are your app’s one-and-only heroes—always present, never duplicated! This fun and easy guide explains what they are, why we use them, and how they make real-world apps simpler and smarter.
-
🐍 Python Sets — Your Magical Duplicate-Busting Ninjas!
Python Sets are your fast, duplicate-destroying superheroes! Learn how sets work, how to use them, and why they’re one of the most powerful data structures in Python — explained in a fun and beginner-friendly way.
-
📦 Kotlin Data Classes — The Smartest, Cleanest Way to Handle Data (With Jetpack Compose Examples!)
Discover Kotlin data classes in a fun, simple way! Learn how they reduce boilerplate, improve comparisons, support immutability, and shine in Jetpack Compose for UiState management.
-

🧺 Python Tuples — The Unchangeable Treasure Boxes of Python!
Python Tuples are like unchangeable treasure boxes — fast, reliable, and perfect for storing data that should never be altered. In this fun, beginner-friendly guide, we explore what tuples are, how they work, and why they’re one of Python’s coolest data structures!
-

⭐ Extension Functions in Kotlin — Give Your Code Superpowers!
Extension functions in Kotlin are like giving everyday objects secret superpowers! With just a few lines of code, you can add new features to existing classes—without touching their original source. In this fun and easy guide, we explore simple examples, real-world scenarios, and how extension functions make Android and Jetpack Compose development cleaner and more…
-
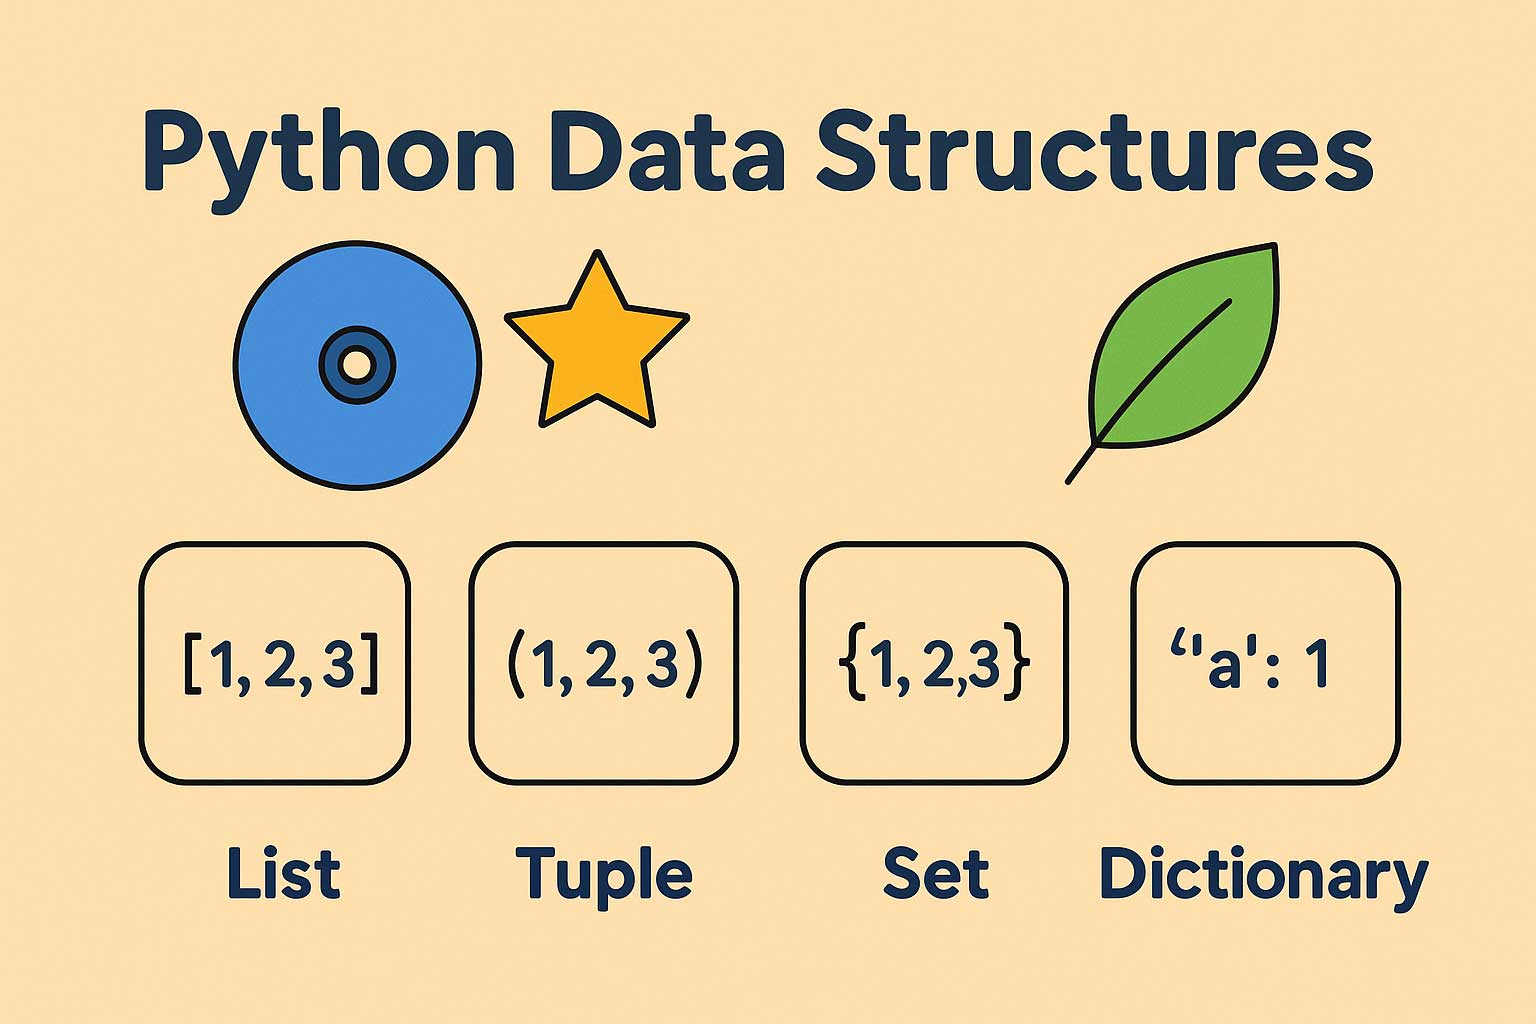
📝 Python Data structures: Lists — Your Friendly, Flexible Storage Box in Python!
Python Lists are one of the most flexible and powerful tools in Python. In this friendly, engaging guide, you’ll learn how to create lists, access items, modify them, loop through them, and use essential list methods — all with simple examples inspired by real-world use.
-
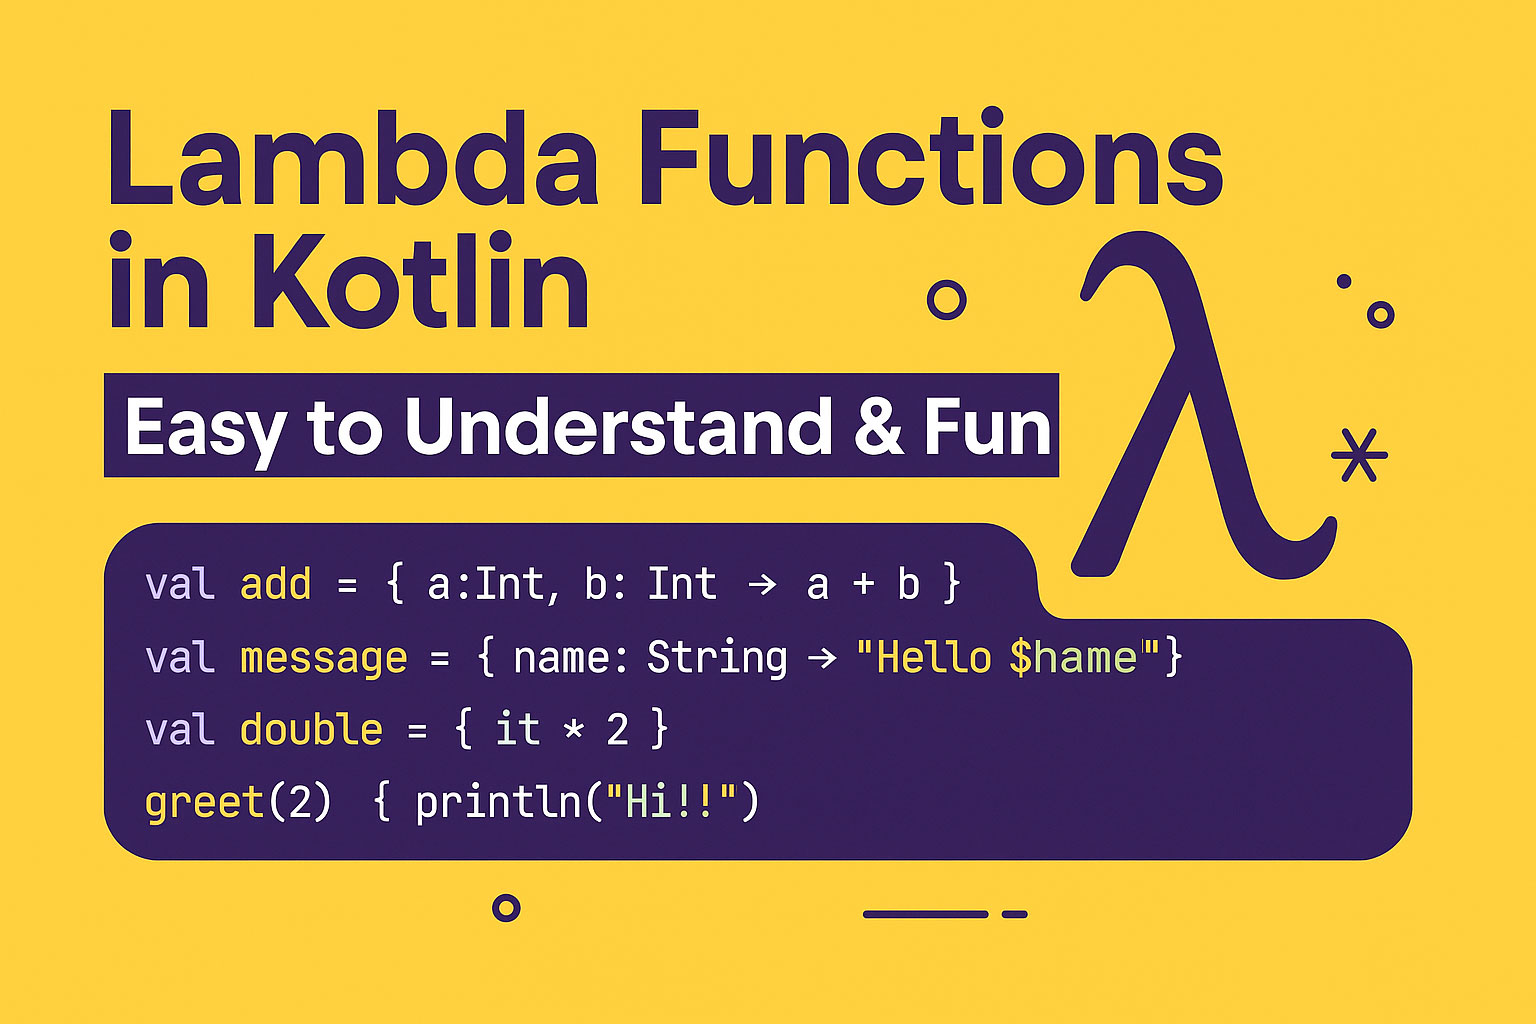
🚀 Lambda Functions in Kotlin: The Fun, Simple Guide You Wish You Had Earlier
Kotlin lambdas can feel confusing at first, but once you understand how they work, they make your code cleaner and your Jetpack Compose UI beautifully readable. This fun, beginner-friendly guide breaks down lambda basics, return types, it, and trailing lambdas — with simple examples and real Android/Compose use cases.
-
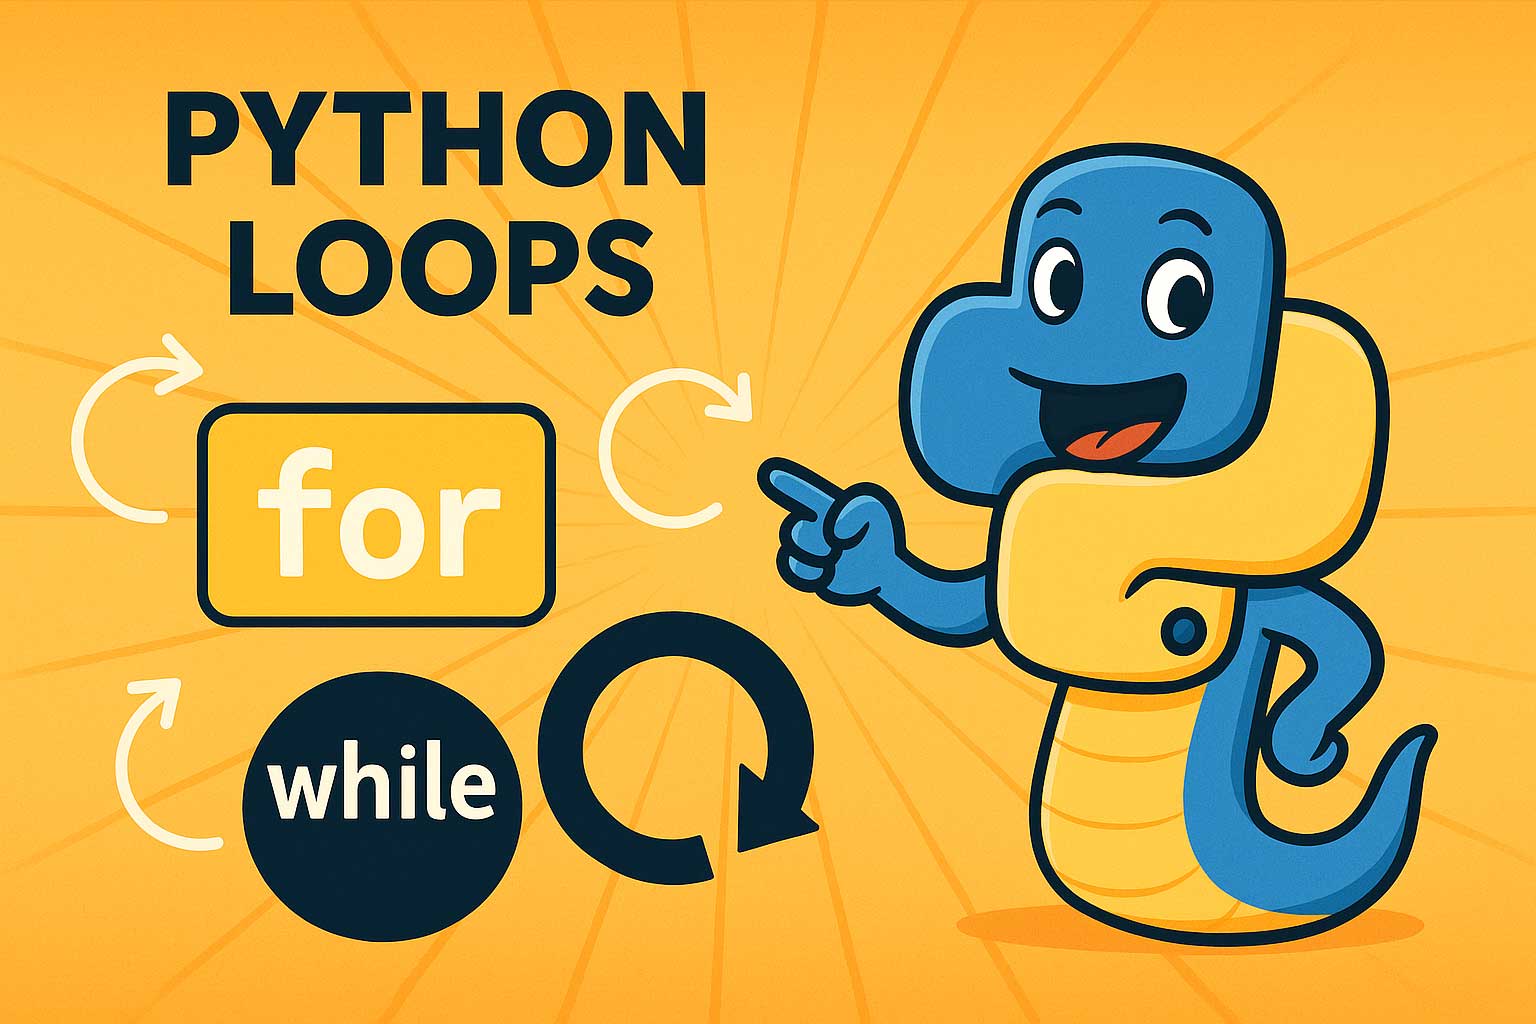
🌀 Python Loops – The Secret Engine That Runs Your Code Again… and Again!
Loops in Python let you repeat tasks effortlessly. In this fun and easy guide, learn how for and while loops work—with real examples, patterns, loop controls, and beginner-friendly explanations.
-
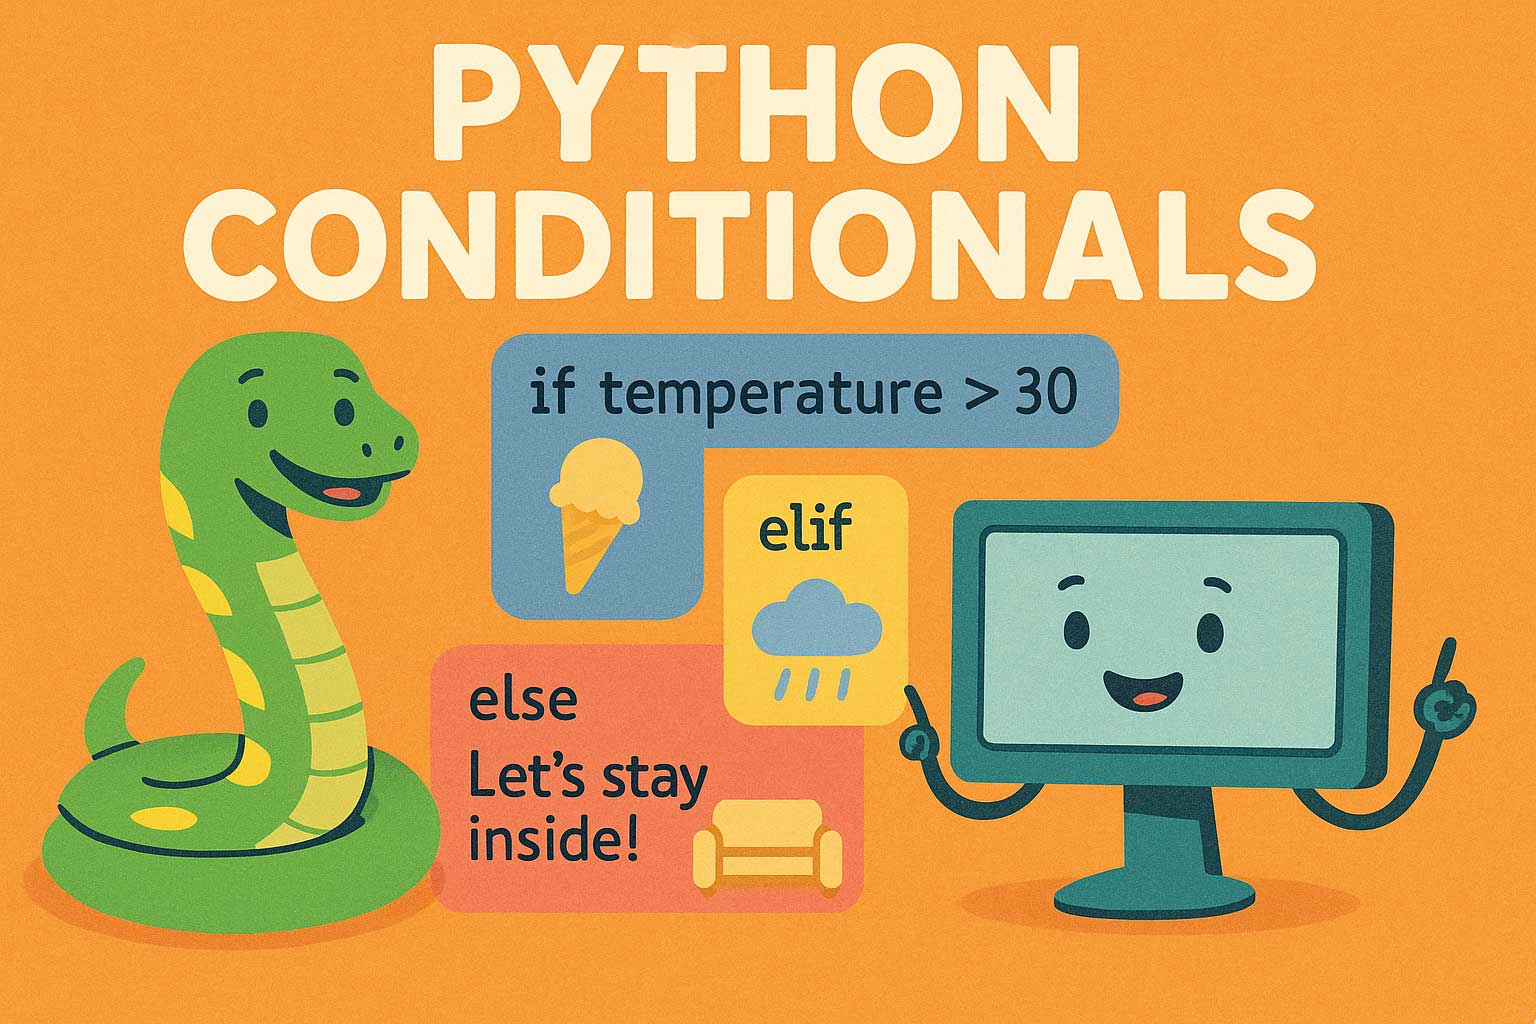
🐍 Python Control Structures: Conditionals
Discover Python conditionals the fun and easy way! Learn how if, elif, and else statements help your programs make smart decisions—with simple examples and real-life scenarios.